Start with a Template
You can add Decap CMS to an existing site, but the quickest way to get started is with a template. Found below, our featured templates deploy a bare-bones site and Decap CMS to Netlify, giving you a fully working CMS-enabled site with just a few clicks.
After clicking one of those buttons, authenticate with GitHub or GitLab and choose a repository name. Netlify then automatically creates a clone of the repository in your GitHub or GitLab account. Next, it builds and deploys the new site on Netlify, bringing you to the site dashboard after completing the build.
Note for Bitbucket users: Decap CMS supports Bitbucket repositories, but Bitbucket's permissions won't work with the Deploy to Netlify buttons above. You can still set up a repository manually, or follow the tutorial for adding Decap CMS to an existing site.
Access Decap CMS on your new site
- The template deploy process sends you an invitation to your new site, sent from
no-reply@netlify.com.
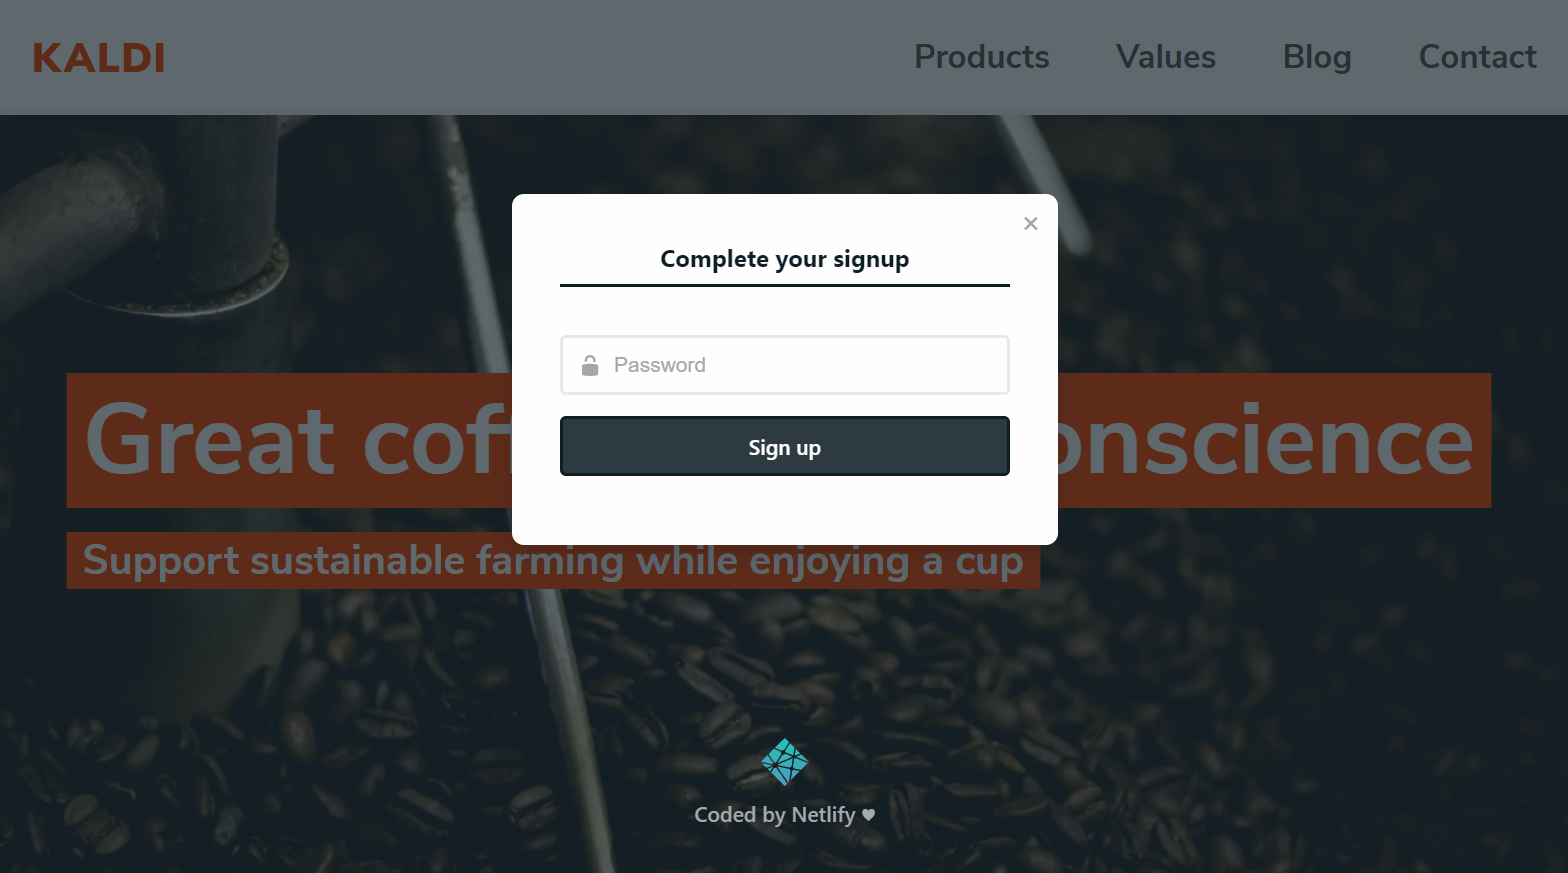
- Wait for the deployment to complete, then click the link to accept the invite. Your site will open with a prompt to create a password.

- Enter a password, sign in, and you’ll go to the CMS. (For future visits, you can go straight to
<yoursiteaddress.com>/admin/.)
Try adding and editing posts, or changing the content of the Products page. When you save, the changes are pushed immediately to your Git repository, triggering a build on Netlify, and updating the content on your site. Check out the configuration code by visiting your site repo.
More paths to explore
- To see how to integrate Decap CMS into an existing project, go to Add to your site.
- Check out other sites using Decap CMS (or share your own!) on the Examples page.
- If you’d like to add more CMS editors or change how they log in to your site, read up on Netlify Identity service.


